Twitter UI Clone with Flutter - Part 1
Twitter UI clone using Flutter — Part 1
Hi everybody,
In this post, we are going to clone Twitter feed UI. In order to practice widgets, we are not going to focus on business logic, it's just UI.
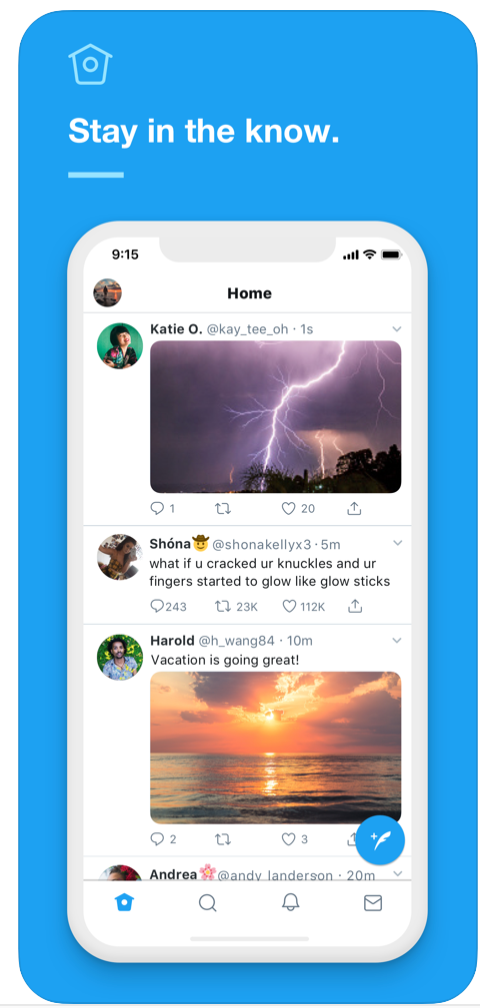
This image is a Twitter official screenshot that was downloaded from Apple Store.
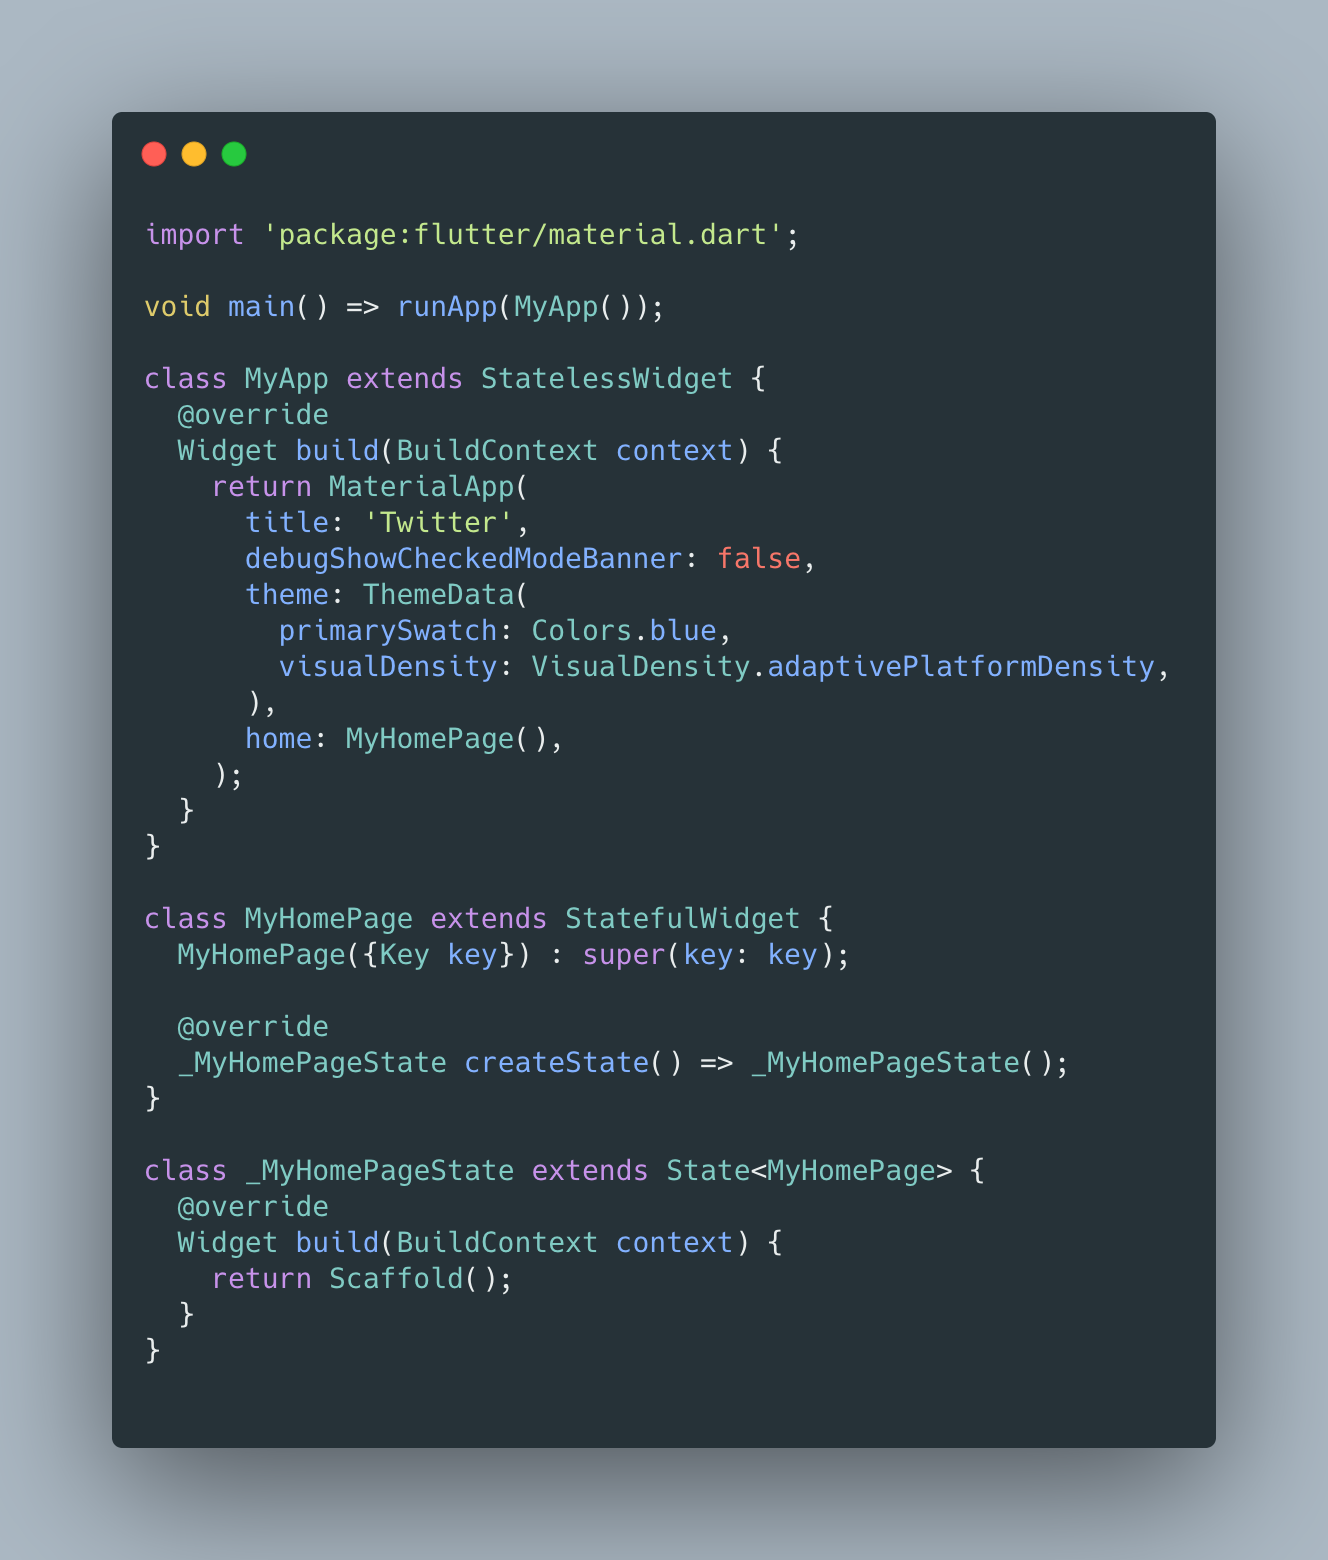
Before starting, we need an empty project and we need our main widget to execute the app:
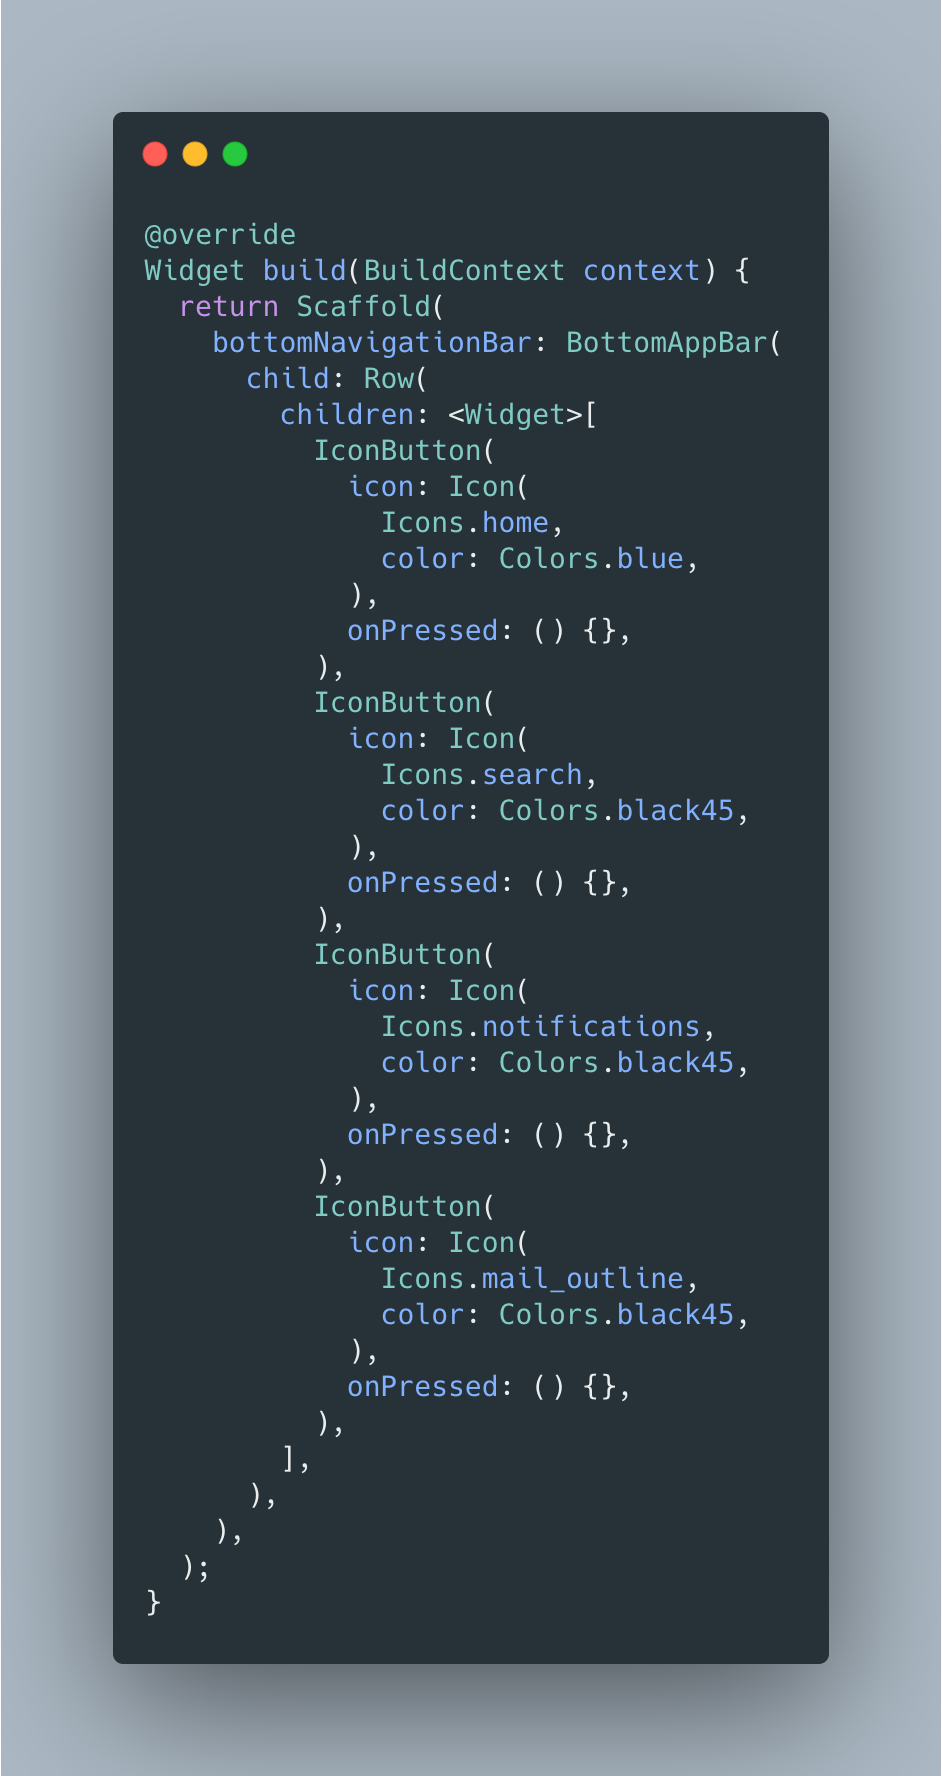
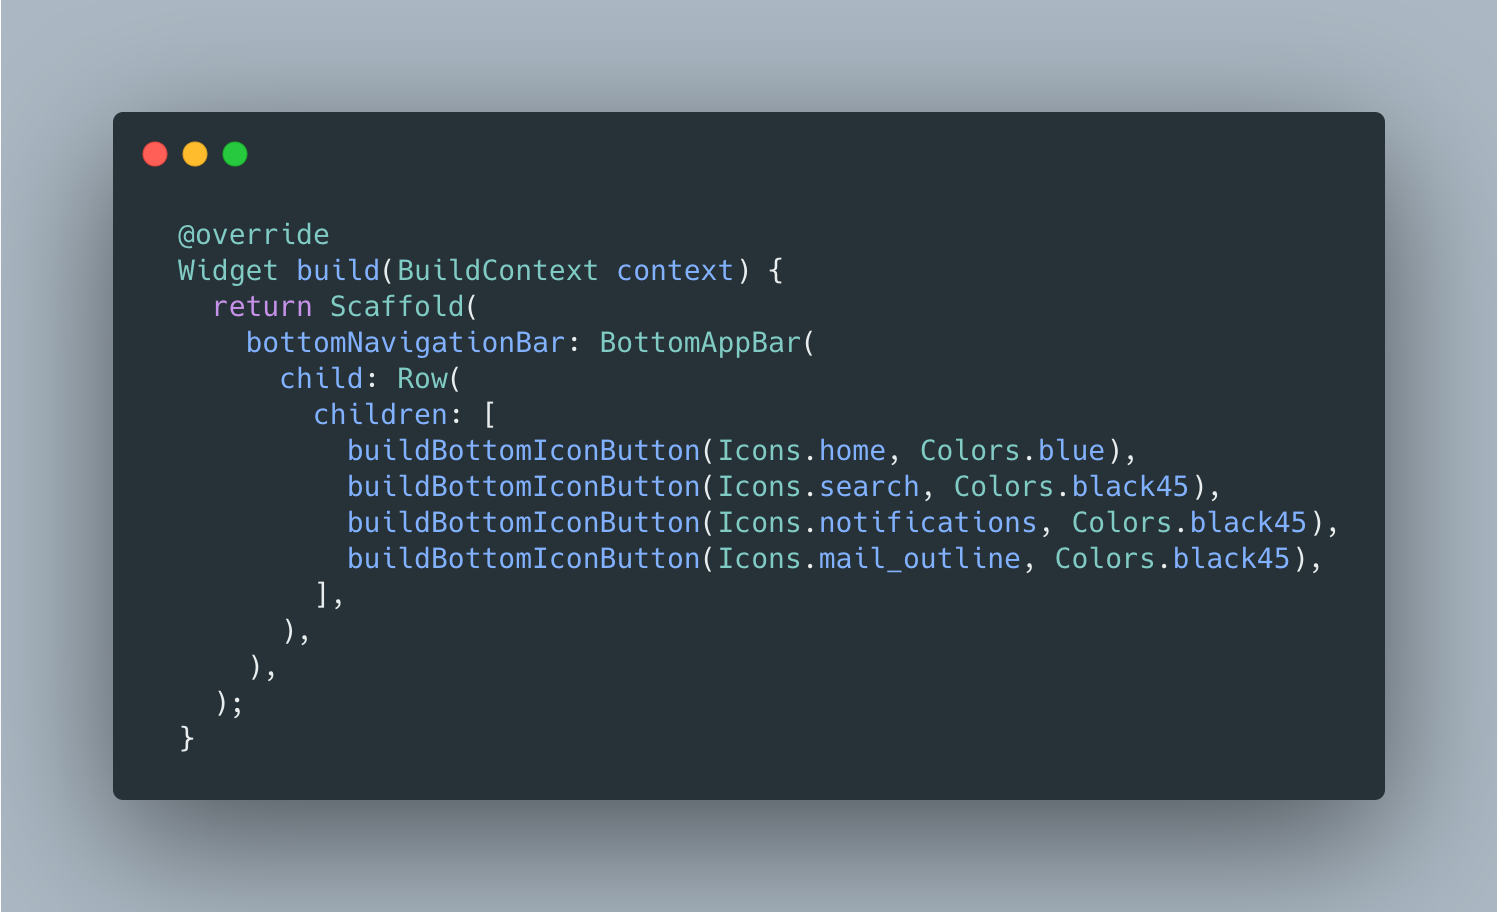
As I told you in my previous posts Scaffold is a very useful widget because it provides many properties out-of-box. One of these properties is bottomNavigationBar which we are going to use it.
We can use BottomAppBar and create an Row in order to build 4 icons horizontal.
Dddhhh! ... this code is very repetitive. In addition, to create UI code, we want to keep it maintainable.
So, we are going to create a buildBottomIconButton to remove repetitive code:

And we just use our new function and it looks like this:
Good, almost we get it! We need to run and ...
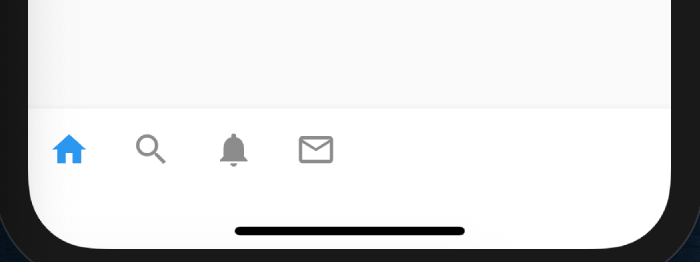
We forgot to tell the icons how they should be distributed!
Flutter's layout can be distributed in different ways. For example:
Row is a layout of a list of child widgets in the horizontal direction. Column is a layout of a list of child widgets in the vertical direction. ListView is a widget that arranges its children sequentially along a given axis, forcing them to the dimension of the parent on the other axis.
You can read how to use ListView in my previous posts.
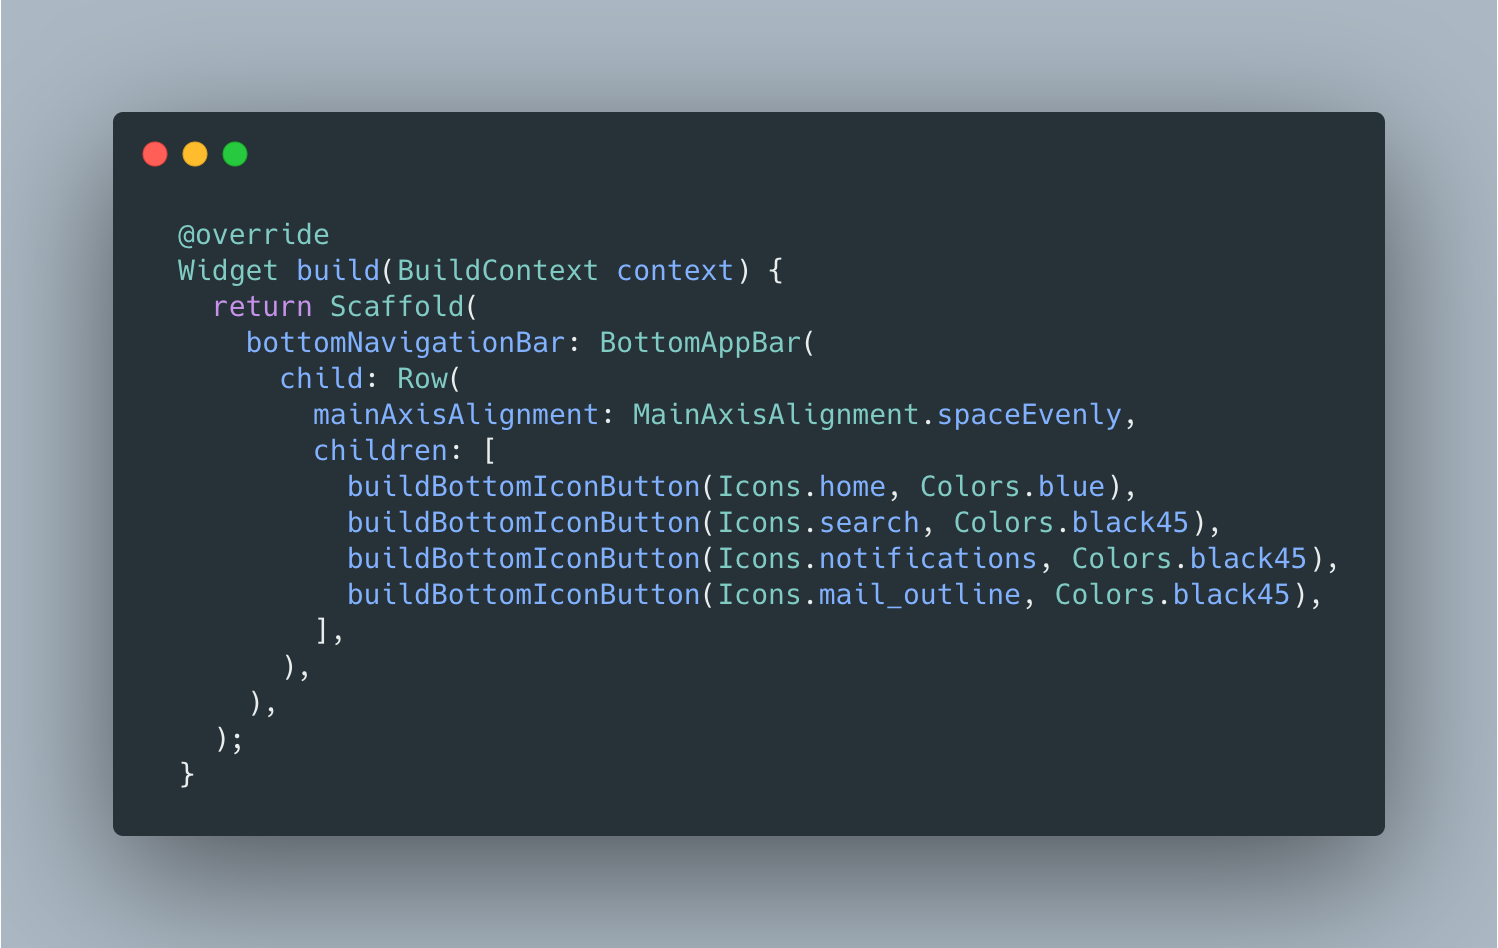
Row has a property called mainAxisAlignment which indicates how to distribute widgets on the main axis. Row main axis is in the horizontal direction. Column's main axis is in the vertical direction.
We are going to set mainAxisAlignment on MainAxisAlignment.spaceEvenly. I mean, widgets will be distributed evenly.
And it looks like:
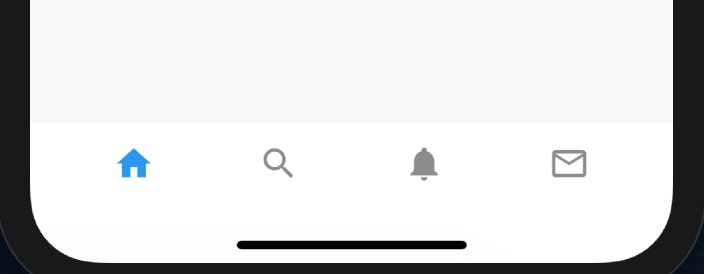
Great, the first part is done!
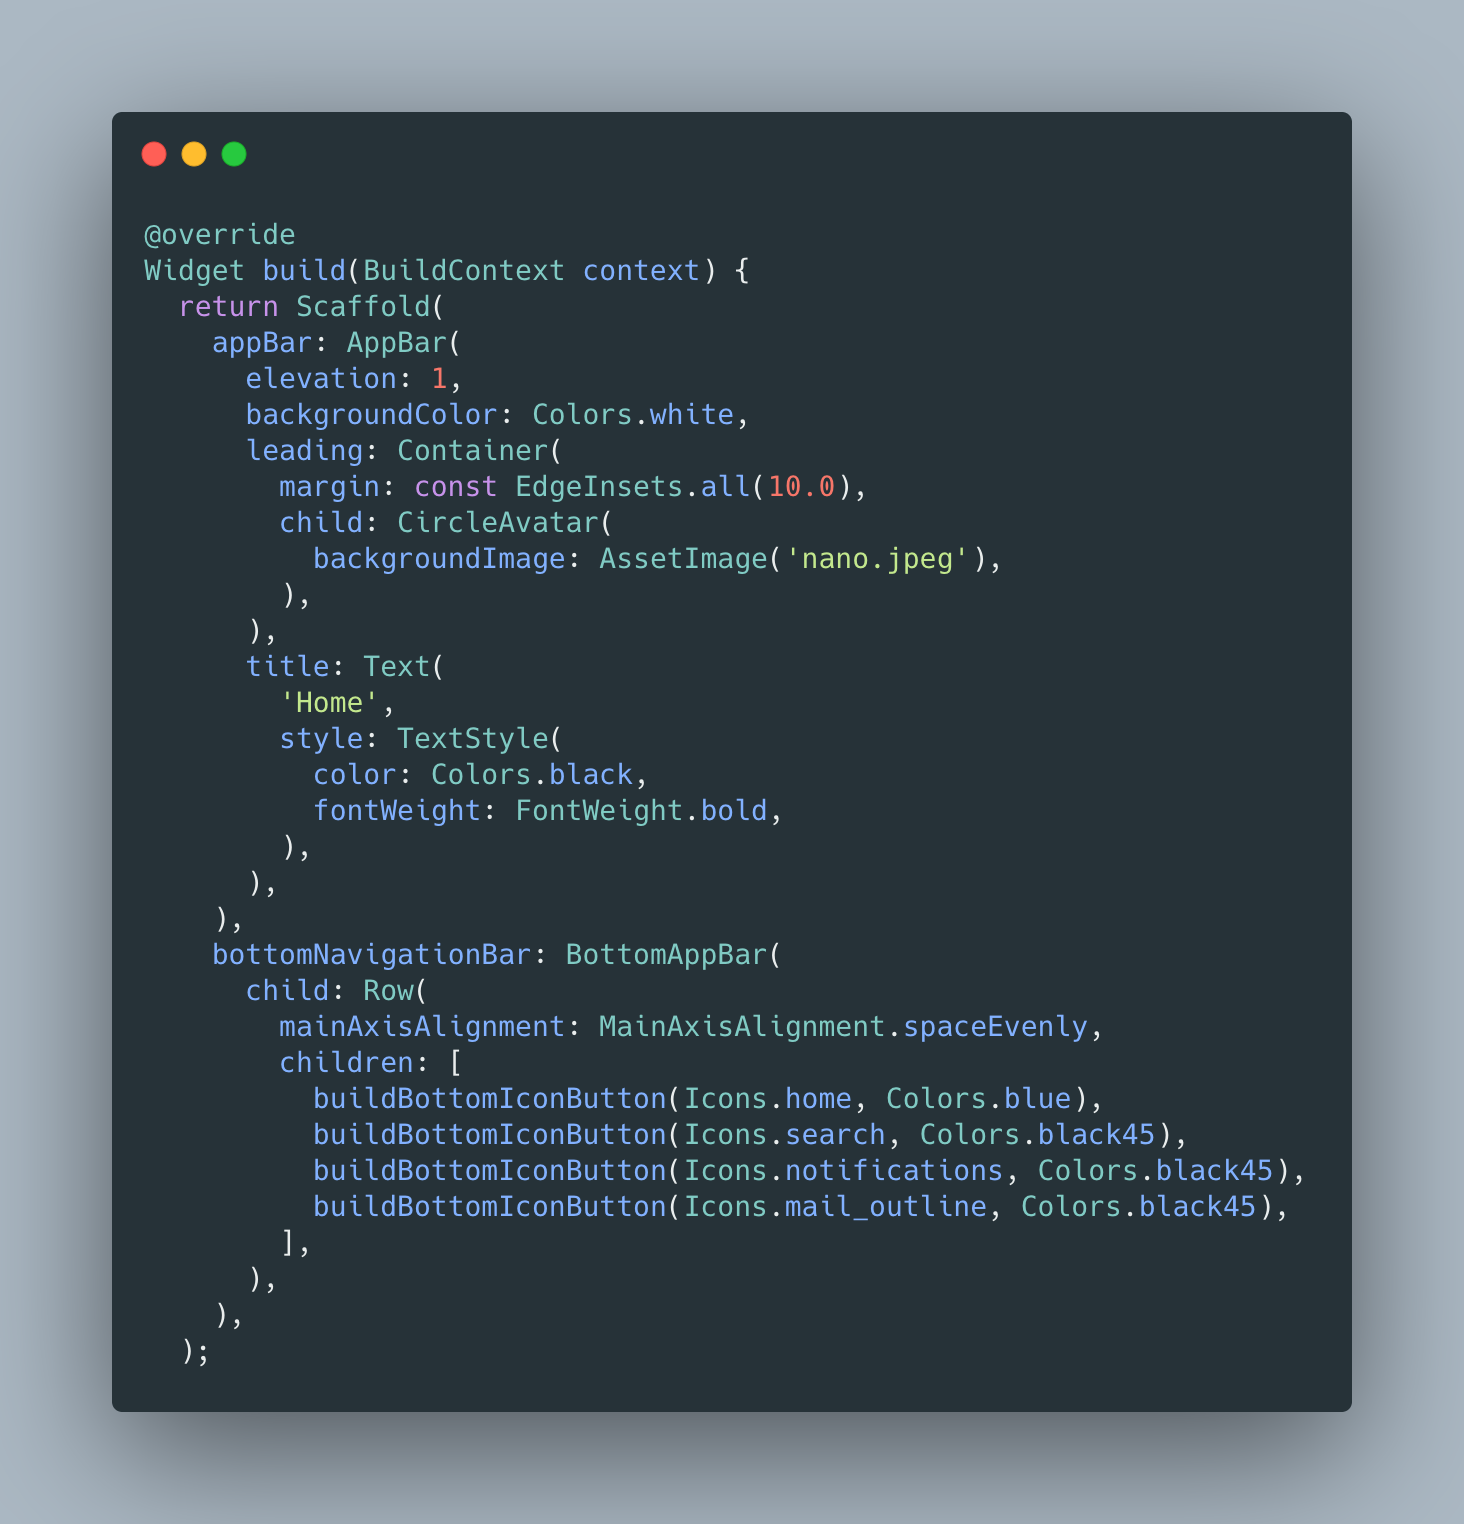
In order to build the top bar, we need to use another property from Scaffold widget called appBar (very intuitive!). AppBar is a material design app bar.
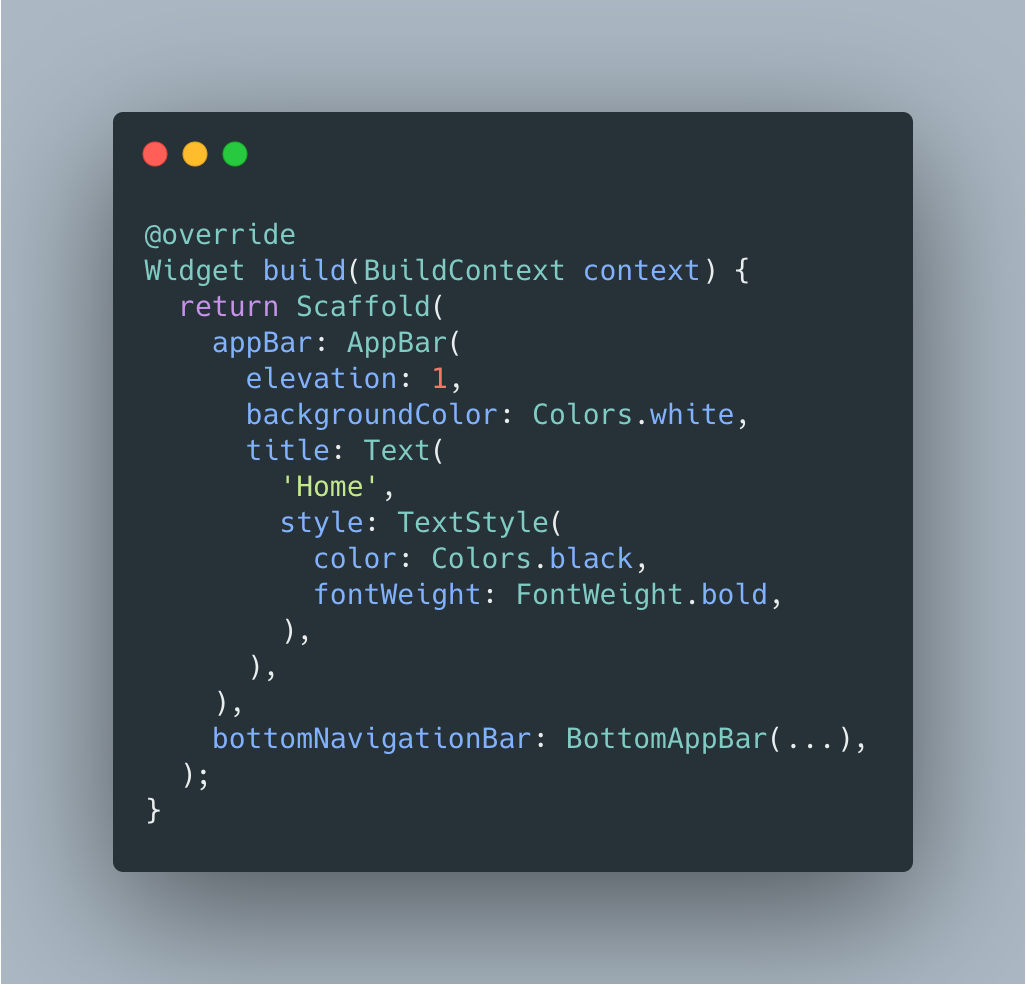
We set backgroundColor on white and set title property with a bold and black color style. Also, we set elevation property on 1 which controls the size of the shadow below the app bar.
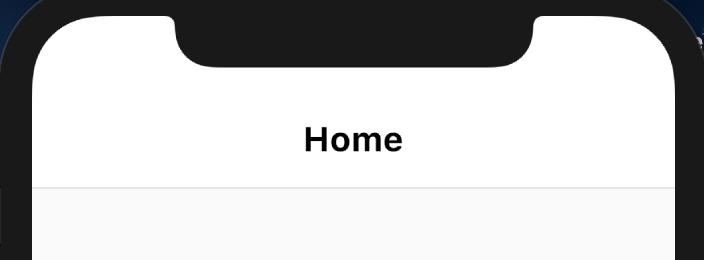
Good job, but the clock and signal battery and signal wifi disappear it!.
We have to set primaryColorBrightness on Brightness.light in our ThemeData in MaterialApp widget.
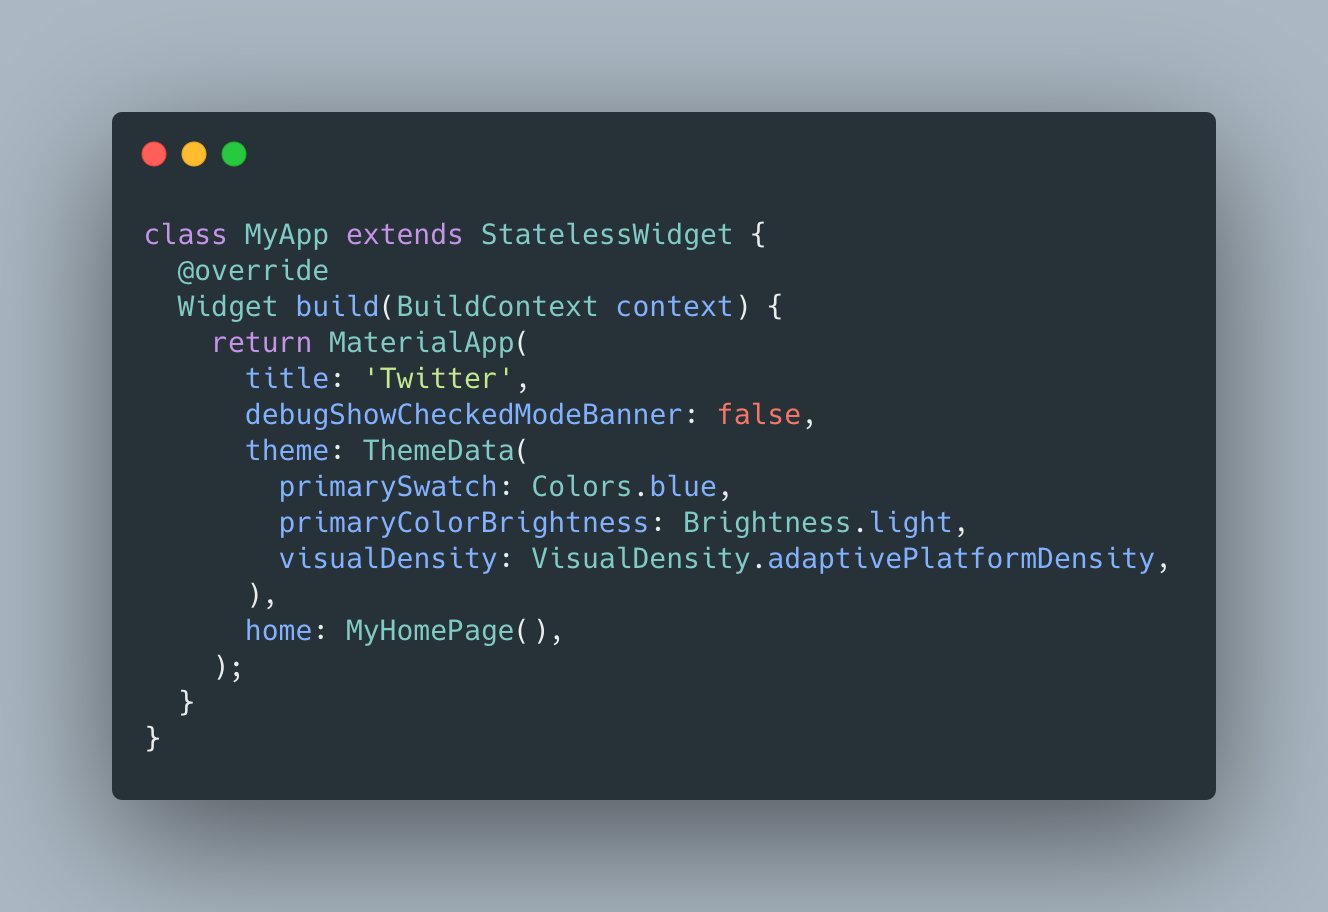
The Brightness is light because it will require a dark text color to achieve readable contrast.

We are going to add an avatar image from assets the folder. For that, we have to create a assets folder on root and add an image inside this folder.

And we have to declare in pubspec.yaml we want to use this image and where is it:
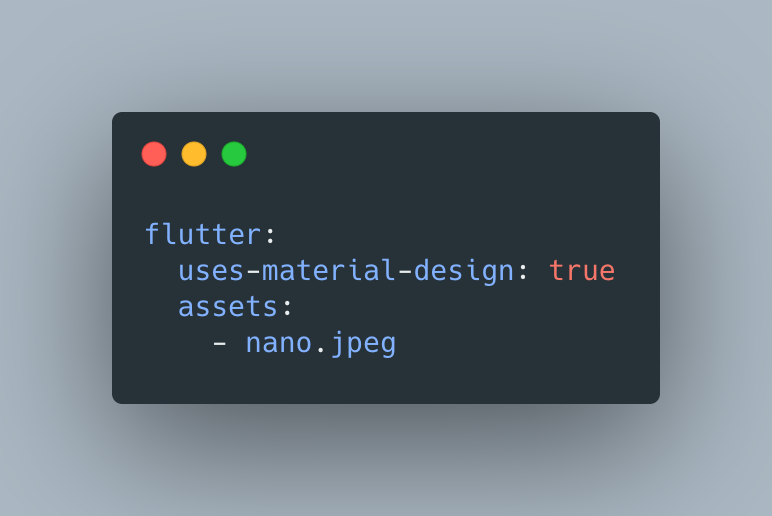
Once declare assets, we need to stop and play the app again to Flutter incorporate the image on the build.
To show our avatar, we are going to set another property from AppBar widget called leading which is a widget to display before the title.

CircleAvatar fits perfectly for this case. We wrapped with a Container to set margin and set all margins on 10.0.
Finally, our screen looks like this:
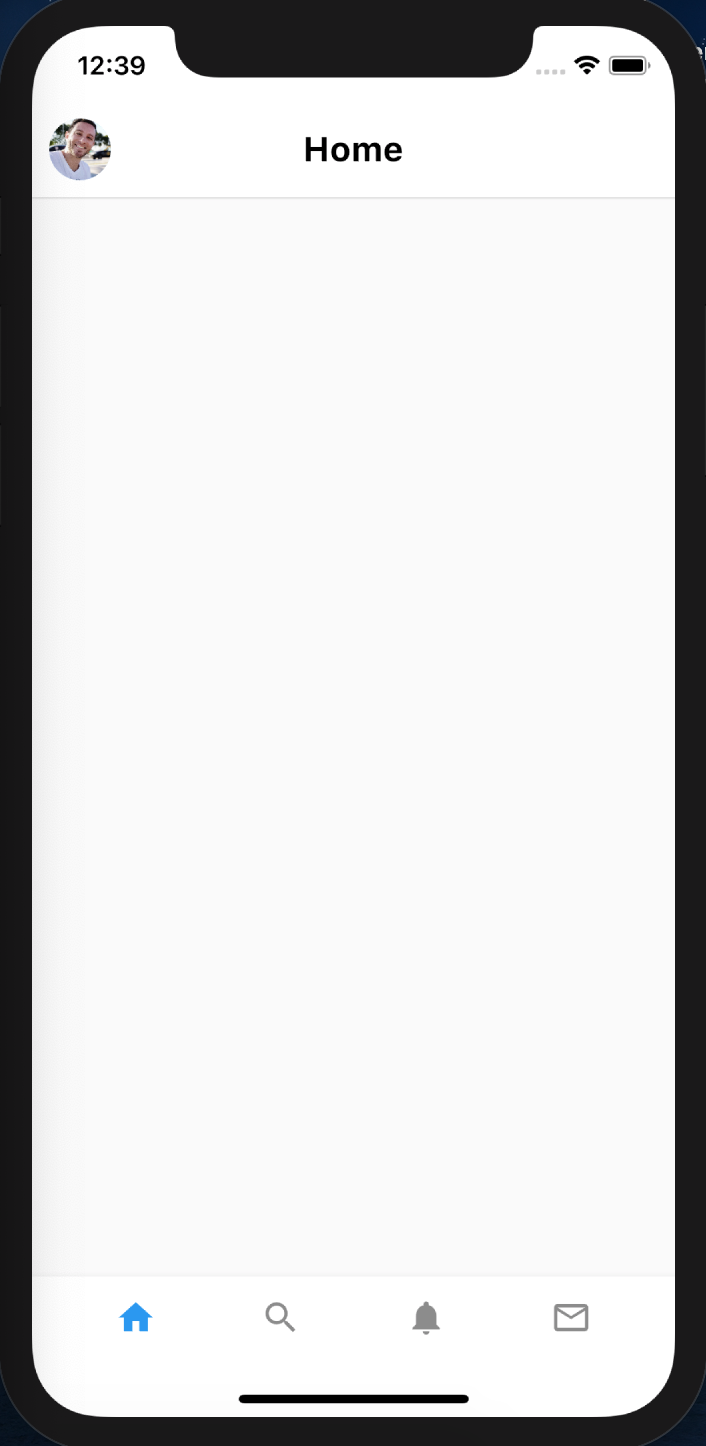
In the next post, we are going to continue with this clone and we are going to code screen content!
The full code is available on GitHub.
If you want, you can read the previous Flutter articles
That's all folks!
Enjoy!